Machine Selection
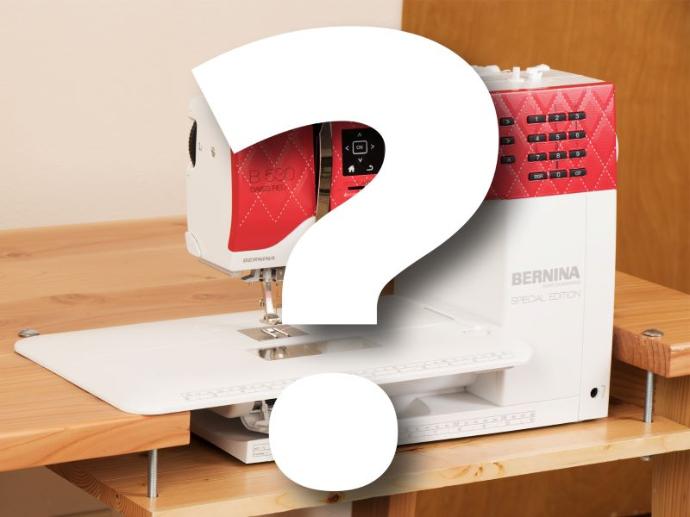
When looking for the right machine for you, our biggest piece of advice is research, research, research! The price of a machine is not necessarily an indicator of whether it will be right for you. Annie says, “You’ll really want to take into consideration what you’re doing and creating. Think about the types and sizes of your projects, what kinds of stitches you’ll be using most often, or how many hours you think you’ll be using your machine.”
Although the biggest selling points of a machine are its features and functionality, don’t forget to factor in the upkeep of the machine over its life. Find out what kind of warranty it has, how much it would cost to get it serviced, and learn other important information before buying. For example, did you know that repairs made by technicians who are not factory-authorized can void the manufacturer’s warranty?
We recommend buying your machine locally when possible. Not only does this support the businesses in your community, but you’ll have a great resource nearby when you have questions about your machine, or when you need to take it in to get it serviced.

Annie is a BERNINA ambassador and is excited about learning all the features of the brand new BERNINA 790 Plus which she recently received. She has filled the ByAnnie sewing studio with other great BERNINA machines. They have a lot of features Annie loves, particularly their feet and their powerful motors!
Needles
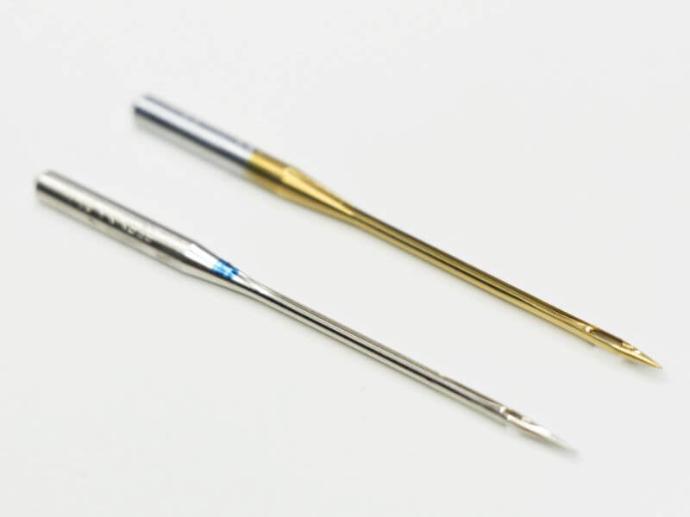
Any experienced sewist will know the importance of having a good needle. We use #90/14 Topstitch needles almost exclusively. Topstitch needles have a groove down the shank that prevents thread from shredding. They’re strong and sturdy and work really well for fabric quilted with ByAnnie’s Soft and Stable. Best of all their eye is twice as big as the eye on a regular needle. This accommodates heavier threads, and also makes them much easier to thread. We especially like Superior Threads Titanium Coated Superior Needles.
While many people recommend switching to a new needle with every new project, Annie adds this reminder: “Every project is different. Some may be small and simple, and others may be more intense. When deciding when to switch out your needle, think about what it’s been up against in the project. If you’ve been sewing through thick layers, or rougher fabrics, your needle may wear out quicker. “
She goes on to say, “For me, I like changing out my needle after about 8 hours of sewing. More important, however, is just paying attention to your stitches and noticing the warning signs of a bad needle.” Some of these signs could be: shredded or broken threads, skipped stitches, puckered fabrics, uneven seams, and/or a noticeable change in the sound your needle makes when penetrating the fabric. If you are experiencing these types of problems, chances are your needle should be replaced!
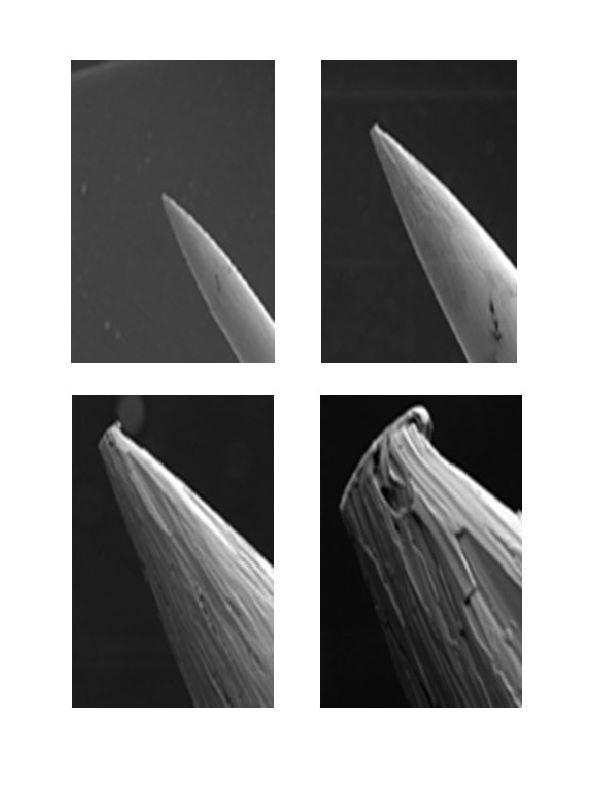
Take a look at what a needle looks like when magnified under a microscope. To the naked eye, it may look sharp, but as you can see, it's far from it!
Threading Your Machine
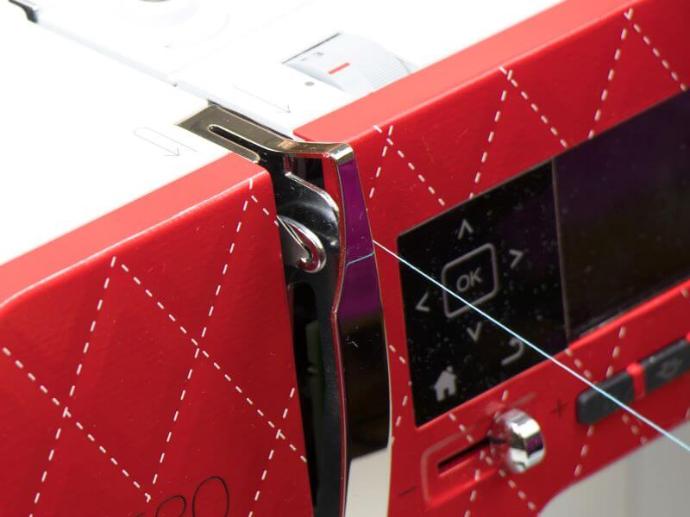
Even with the handy instructions on your machine showing you how to thread your needle, it’s still easy to miss a step from time to time. One little missed step and your sewing sequence is off. If you’re having trouble threading your machine, refer to the owner’s manual for help.
For best results, always turn your hand wheel so that the needle is raised to its highest position and remember to lift the presser foot up too! If you’re still having trouble with your thread, be sure to check that the tension setting is correct for the type of thread you’re using.
Bobbins
Make sure to use the correct size and type of bobbin for your particular brand of sewing machine. Keep in mind that machines are set for a very precise tension setting. If it is set for a lighter plastic bobbin, the tension will change if a heavier metal bobbin is used.
Annie says, “If you have the correct type of bobbin in the bobbin casing, but you’re still having trouble with the tension, know that you can adjust it by turning the tiny little screw on the side, ever so slightly.”
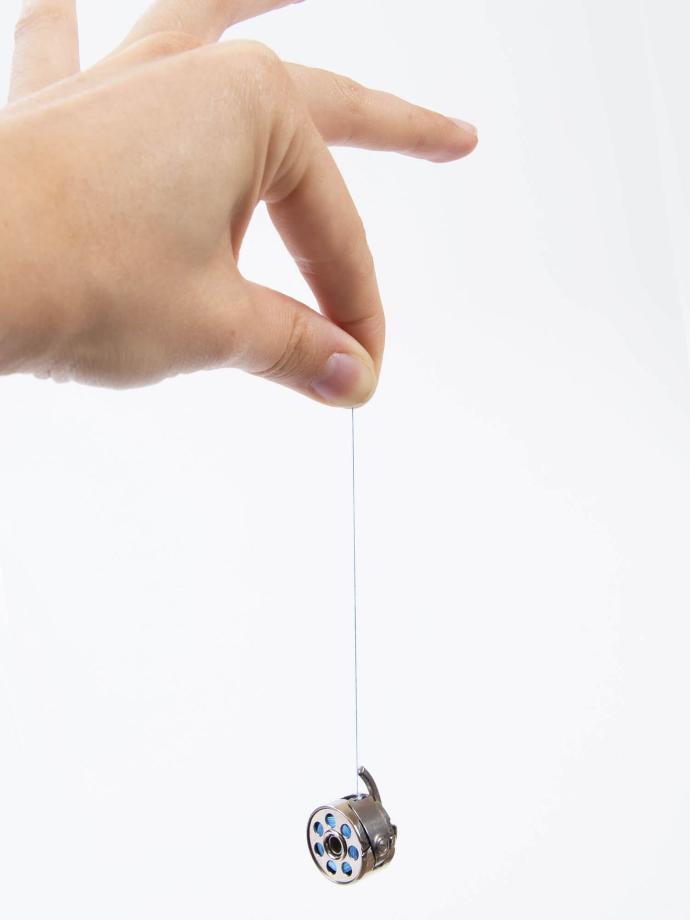
Annie continues, “If you want to test to see if you have the correct tension, try holding on to the end of the thread and let the bobbin & casing drop. If the tension is too loose, it will fall quickly down. If it’s too tight, it won’t drop at all. You should kind of shake it a little bit and it should drop about six inches.”
Lubrication
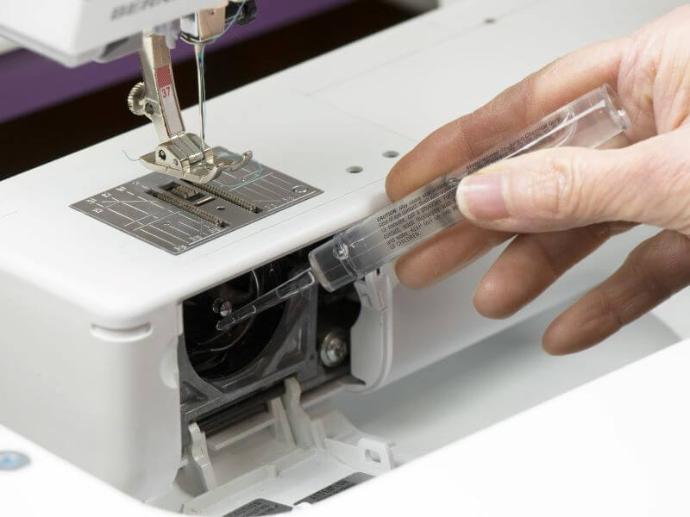
Depending on your machine, you also may need to oil it. For instance, Annie’s Pfaff does not require oiling. However, the BERNINA machines need a drink of oil regularly. Annie’s dealer recommends every second bobbin. Be sure to clean your bobbin case before you apply the oil. You should only need a couple of drops, and your sewing machine manual should tell you exactly where to apply them.
Make sure to only use good quality sewing machine oil – do NOT use household oils such as WD-40! Once the machine has been oiled, sew through a small scrap of fabric to remove any excess oil.
General Cleaning
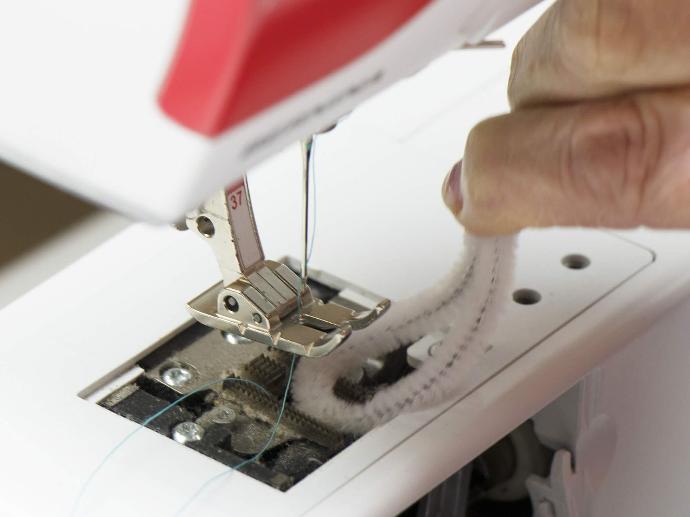
Annie says, “For cleaning your machine, I recommend using a pipe cleaner. It almost acts like a magnet for lint! It bends so easily around all the parts you’re cleaning and into the crevices as well.”
Annie typically likes using a larger size of pipe cleaner, but a smaller size works well too. If you don’t have either of those available, most machines come with a brush that you can use.
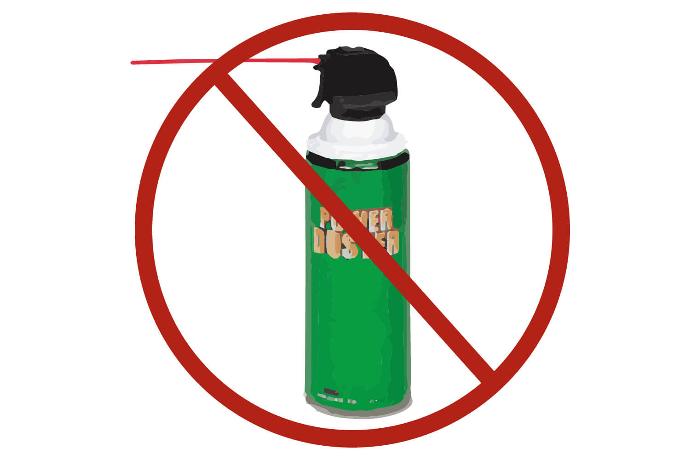
Annie goes on to say, “A lot of people will be tempted to blow out the lint or use compressed/canned air. But most machine dealers don't recommend that because it blows the lint up into the machine where it can cause a lot of problems!”
If you don’t believe it, take a look at BERNINA’s Blog from April 6, 2016, written by Hans Herzog, entitled, “Do’s and Don’ts of Cleaning Lint from Your Sewing Machine.” They show pictures of what it looks like when lint has been pushed up into the interior of the machine. Not only can the build-up of lint cause your machine to malfunction, but having it so close to your motor could also be a fire hazard!
We recommend cleaning your machine often, especially if you do a lot of sewing. Come follow us on Facebook if you want a reminder each month to clean and oil your sewing machine!
Foot Pedal
The placement of your foot pedal is incredibly important, especially if you’re at your machine for long hours. If it’s too close or too far away, it can lead to fatigue or discomfort, and improper placement can also affect the speed at which you sew.
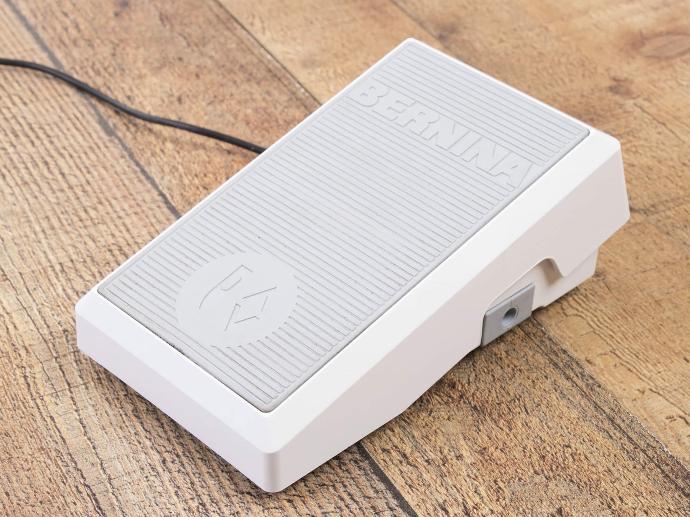
Annie suggests making sure the height of your chair is just right. You never want to sit in such a way that you’re only pressing the pedal with the ball of your foot, without your heel touching the floor.
If you need to, try adjusting the height of your chair, or lifting up the foot pedal by placing it on a sturdy platform. If your pedal slides around, consider putting a mat or non-skid pad underneath.
Lighting
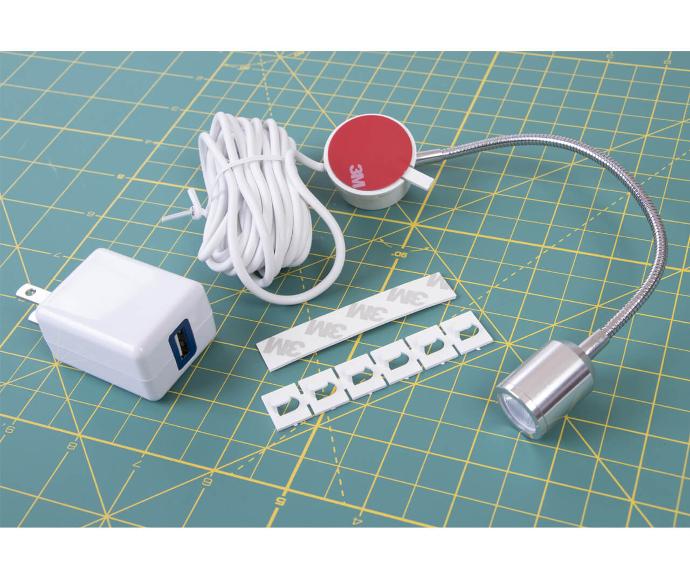
Good lighting is a sewist’s best friend! If possible, try setting up your sewing room so your machine is in a well-lit area, preferably filled with natural light. You’ll have better results, especially when working on projects with tiny details or when trying to match colors. While many machines come with a light built it, it still might not be enough.
If you need, get another light that mounts to your machine. Annie’s favorite is the Bendable Bright Light. She said, “I didn't think I needed this light until I tried my friend's light. I was amazed at the difference!”
Table
When selecting a good sewing table, make sure it’s really sturdy. A wobbly table is not only frustrating, making it more difficult to sew, but it could actually end up damaging your machine. Also, get a table that allows you to keep your work at elbow height and your wrists straight.
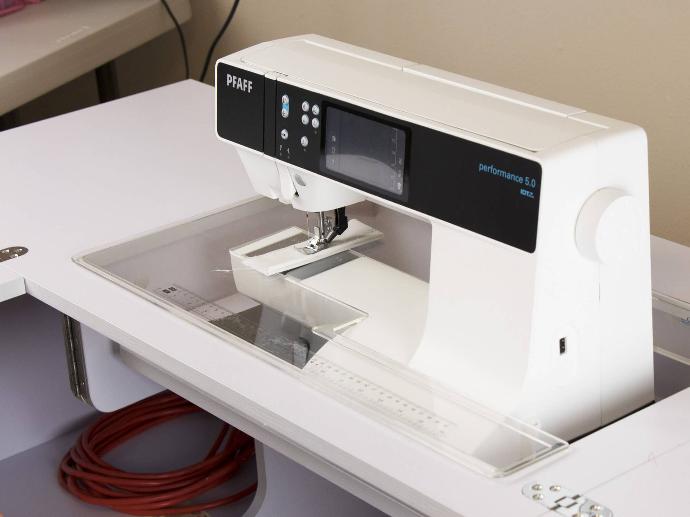
You’ll want a table that lets you sit right in front of the needle. If the legs or drawers push you too far over to one side or another, you’ll end up straining yourself. Last, but not least, get the right size. It’s worth investing in a table that lets you spread out as much as possible. Find a table that can handle your bigger projects, or lets you keep all your tools close at hand.
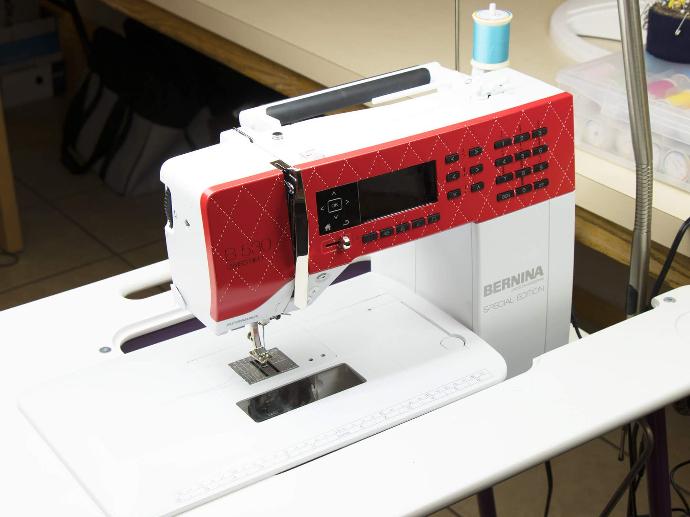
Note: Several ladies in the ByAnnie sewing studio commented on how they love tables which allow you to drop the sewing machine down into the table, making the machine bed level with the table top. These types of tables enable you to keep your project flat while sewing and keep your wrists and shoulders at a comfortable level while sewing.
MACHINE MAINTENANCE AND SETUP