
We are beyond excited to tell you more about our new and updated patterns for Fall 2023. These patterns will each have their own blog detailing their awesome features, but for now we would like to share with you a little bit about the process of getting a pattern idea from Annie’s head all the way to your sewing room.
Countless hours of designing, redesigning, discussing, testing, and editing go into each pattern. You can learn more about the pattern development process by watching this episode of Live With Annie.
Annie, Glo, and the pattern testers really go above and beyond to make sure that the final version of each pattern is as close to perfect as possible. One of the new patterns went through over 46 versions before it was finalized! Can you guess which one it is? Read to the end to find out!
Speaking of pattern testers, have you thanked one today? Pattern testers, who are mostly volunteers, put in many hours of hard work to help make sure you get the highest quality pattern possible. They work without Add-On Videos, sometimes without many illustrations or with incomplete/imperfect illustrations, and with patterns that might need some work. This is no easy task, and requires an extra level of skill and patience.
Thank you so much to all of our pattern testers whose beautiful work we will highlight below. They also have a few tips for making these new projects!
___________________________________________________________________________________________
Courtside
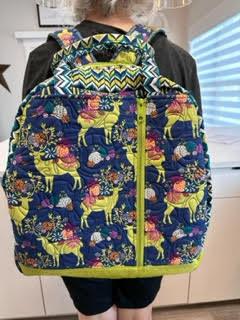
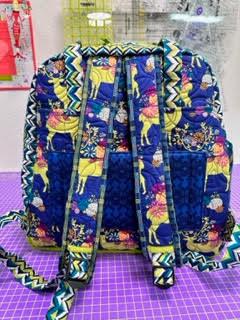
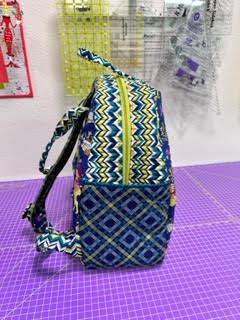
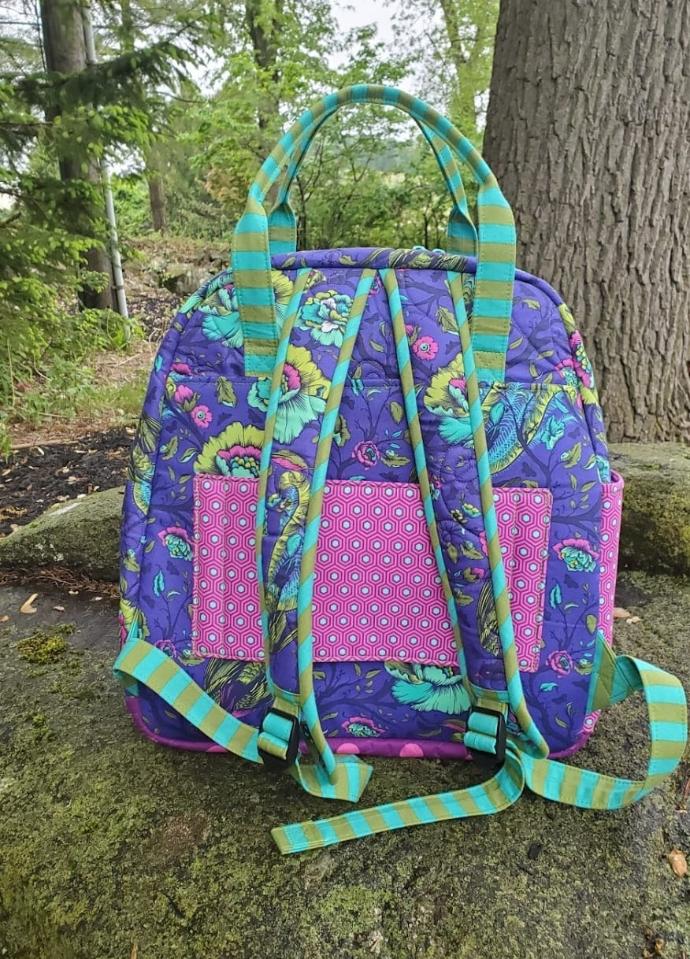
First, we would like to share with you some photos of our new project, Courtside. After many requests for a pickleball bag, we developed this spacious backpack with lots of inside and outside pockets.
Courtside can hold up to four pickleball paddles, two oversized tennis rackets. If you’re not into racket sports, it can be used as a spacious and comfortable travel bag.
Tips from testers:
- To help with the bulk, sew in the seam allowances an extra time or two. Soft and Stable compresses the more you sew over it. Take it slow. Use your needle up/down function as necessary.
- Use ByAnnie’s Double Sided Basting Tape to hold the layers in place as you seal the edges of the unquilted pockets.
- This bag has a lot of components, so make sure you keep everything labeled throughout your project.
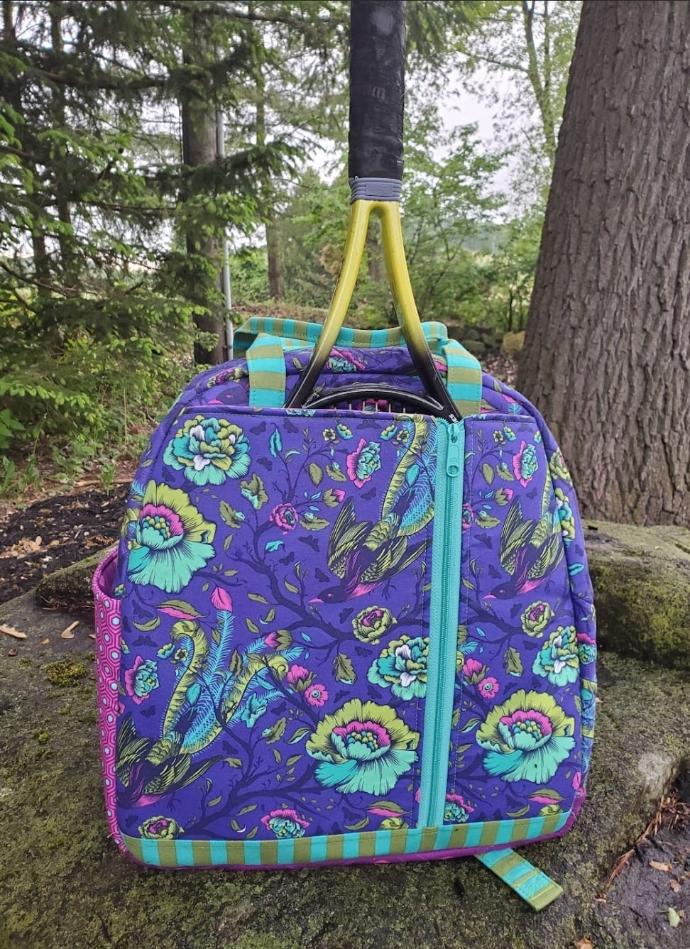
Wendy’s Courtside:

Wendy opted for quilted fabric on the front pocket of her Courtside, and we think it came out great! She omitted the interfacing called for in the pattern, and instead just added a layer of lining fabric. She said this worked well, and didn’t add any noticeable bulk.
Randi’s Courtside:
___________________________________________________________________________________________
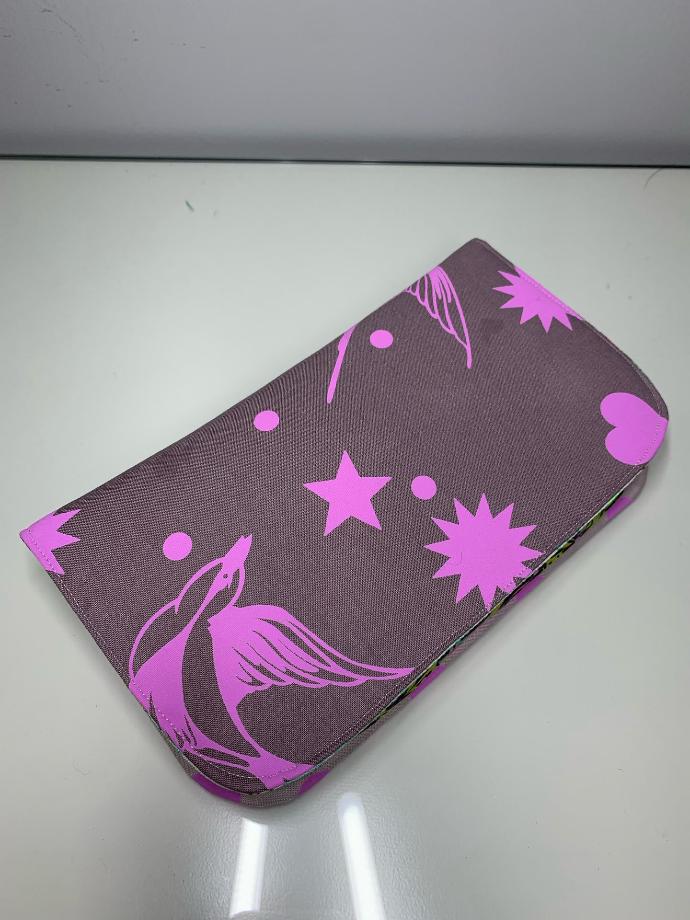
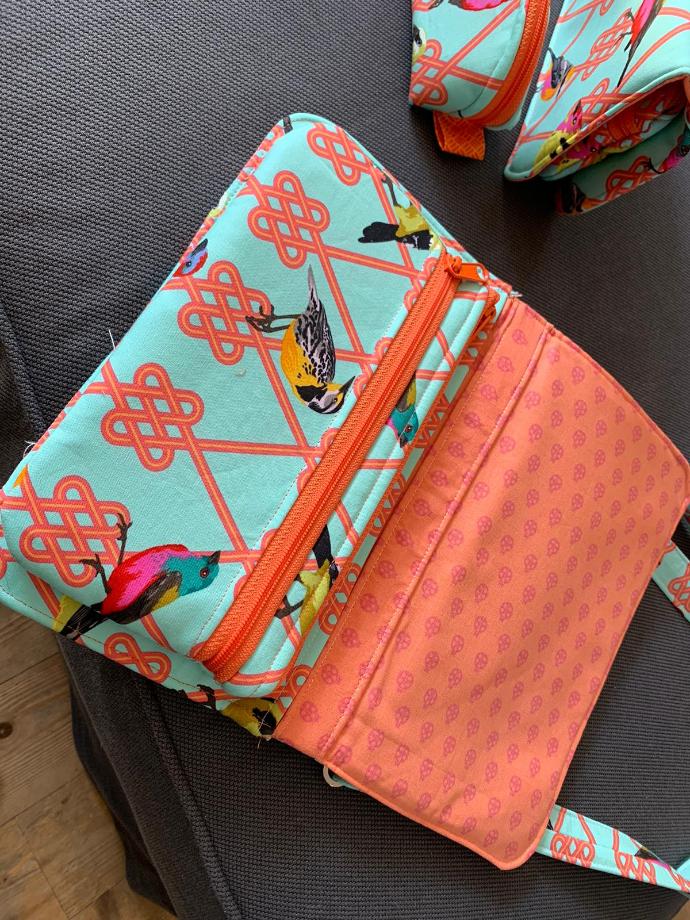
Payday
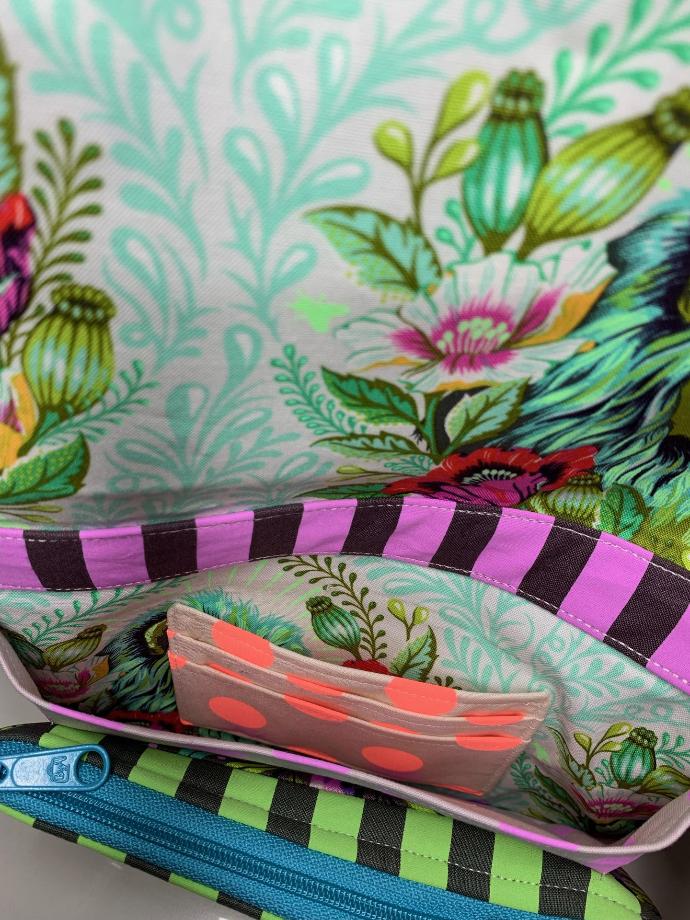
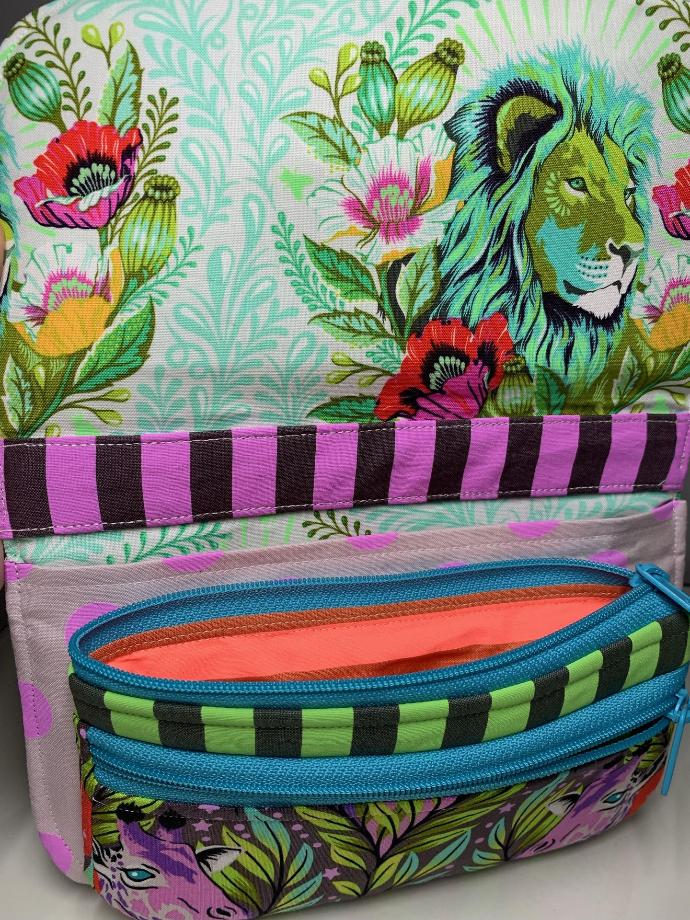
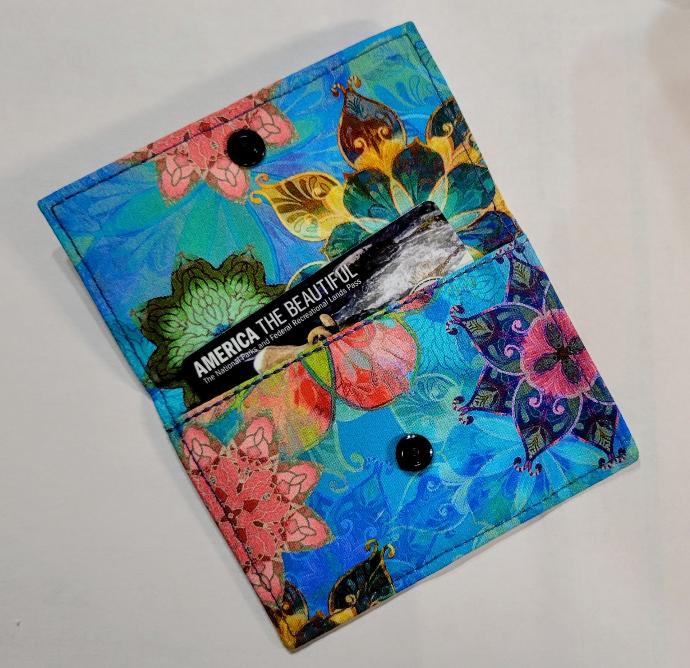
Next, here is our brand-new wallet/purse pattern, Payday. This handy and stylish bag with a magnetic closure has plenty of pockets to help keep your money, credit cards, phone, and other valuables secure and easy to access.
Tips from testers:
- Use your ByAnnie's Stiletto and Pressing Tool to help keep everything smooth and in place as you sew.
- The eraser end of a pencil is great for poking the corners out when you turn components right side out.
Kristen’s Payday:
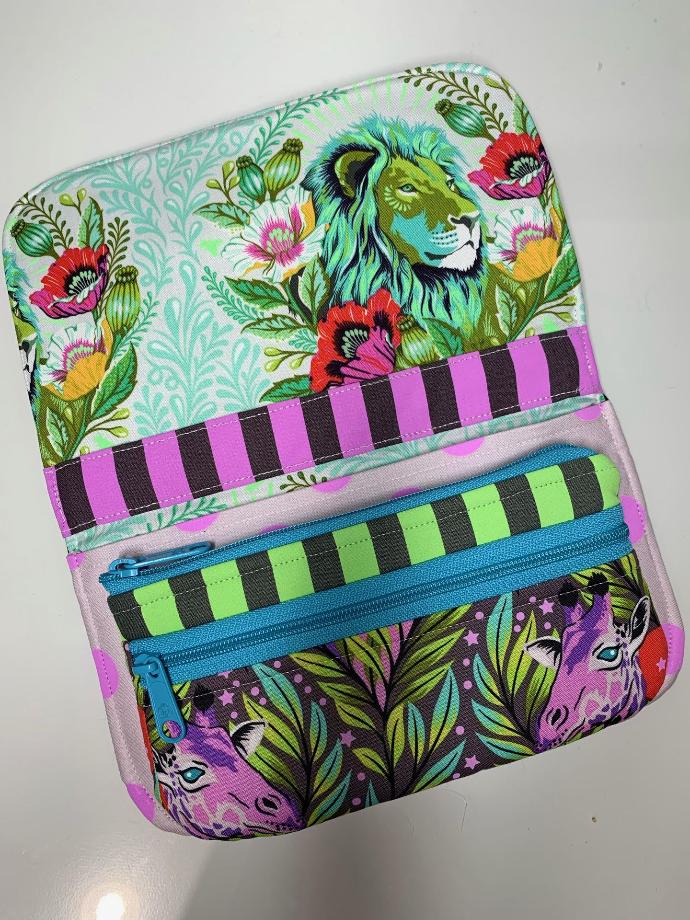
Tula Pink - Everglow and Neon True Colors - FreeSpirit Fabrics
Kristen Haegele - Stitch Fabric Company - Instagram: StitchFabricCompany
Grete’s Payday:
Tula Pink - Moon Garden and True Colors - FreeSpirit Fabrics
___________________________________________________________________________________________
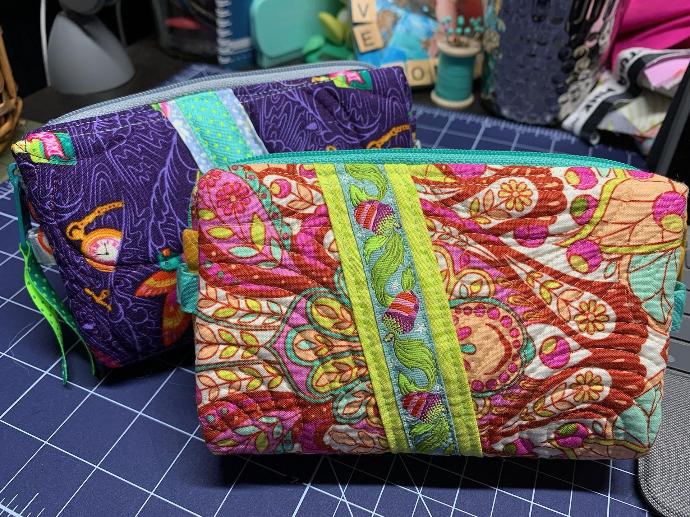
Sew Simple Wallet
This quick and easy project is the perfect way to turn a gift card into a more personalized gift. It also easily slips into any of our other bags to help organize your small items.
Tips from testers:
- The ByAnnie Stiletto and Pressing Tool really helps to keep the layers smooth as you sew.
- Take extra care to be sure that all of your marking lines are accurate and that you fold exactly on each line.
- A hot ruler can help with accuracy as you press the folds.
Jennifer’s Sew Simple Wallets:
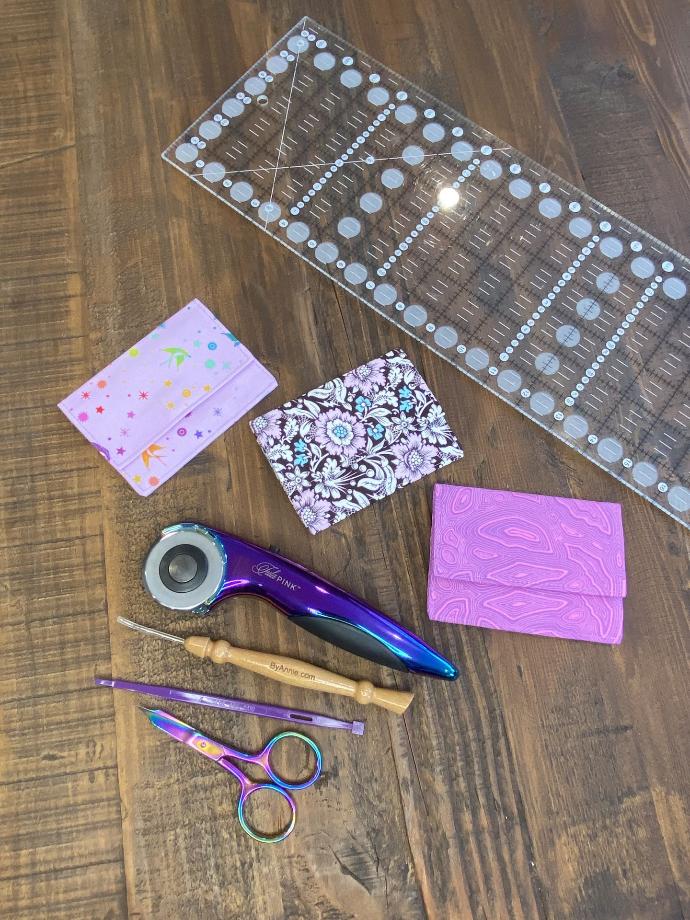
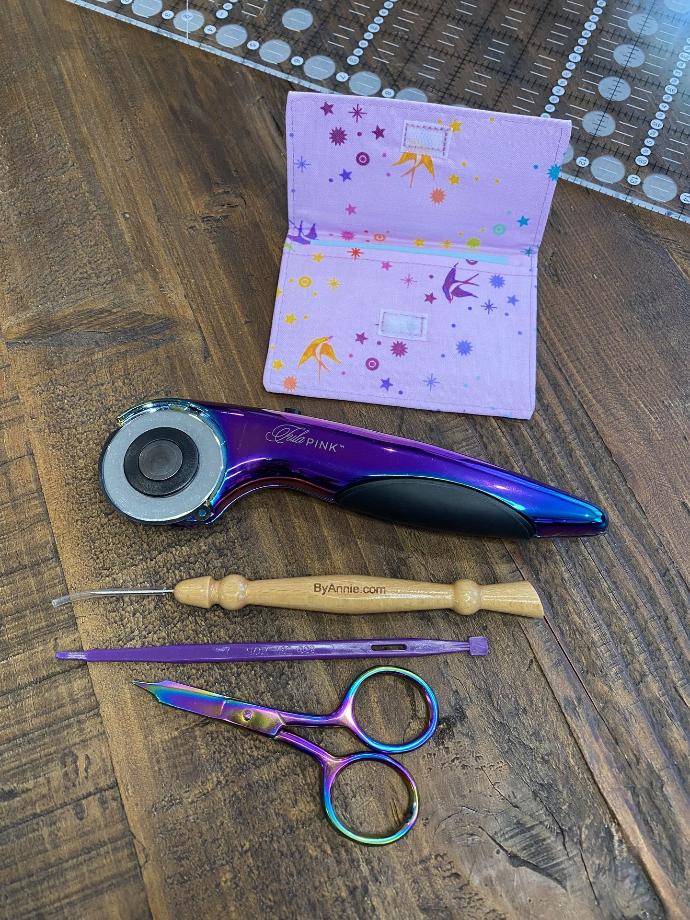
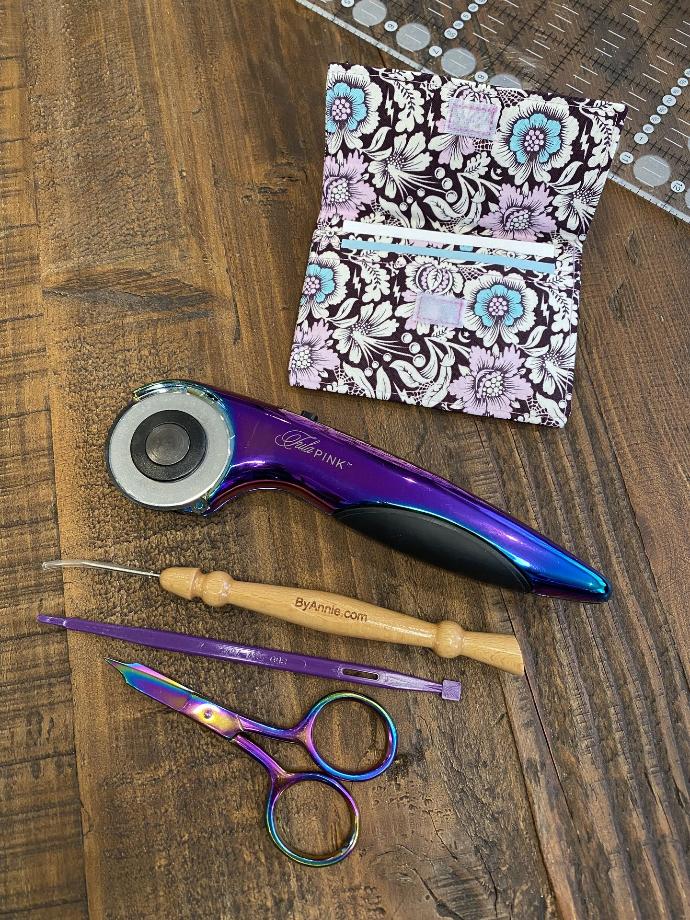
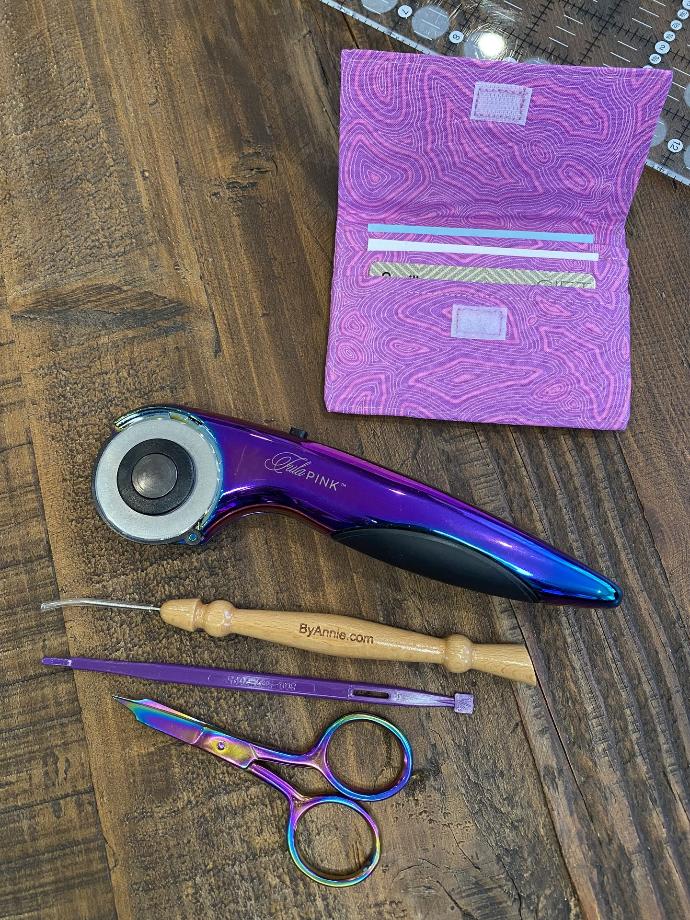
Tula Pink - Nightshade Deja Vu and True Colors - FreeSpirit Fabrics
Jennifer Zimmerman Quade - Instagram: taughtbymomquilts
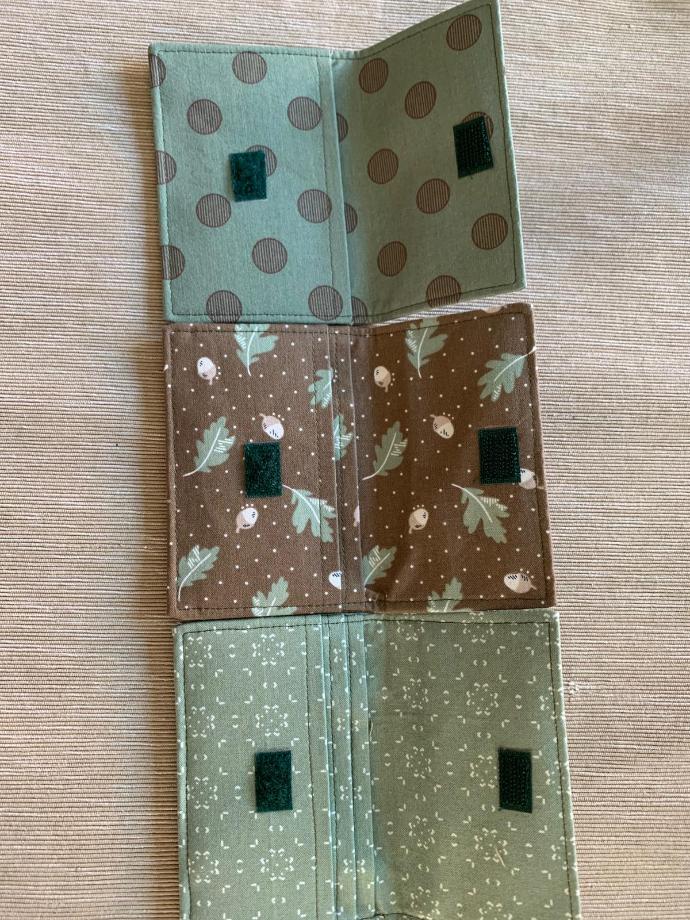
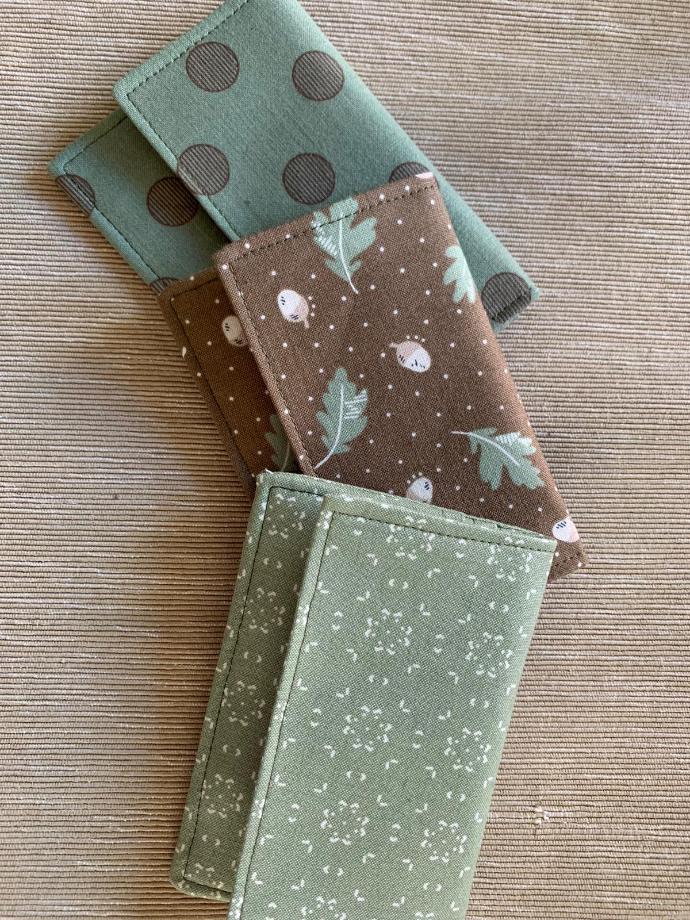
Cindy’s Sew Simple Wallets:

Cindy used snap fasteners instead of hook & loop tape to close her wallets. She recommended adding a square of interfacing to the wrong side of the fabric to stabilize the fabric. She positioned the interfacing squares above the lines that were marked for the hook & loop tape.
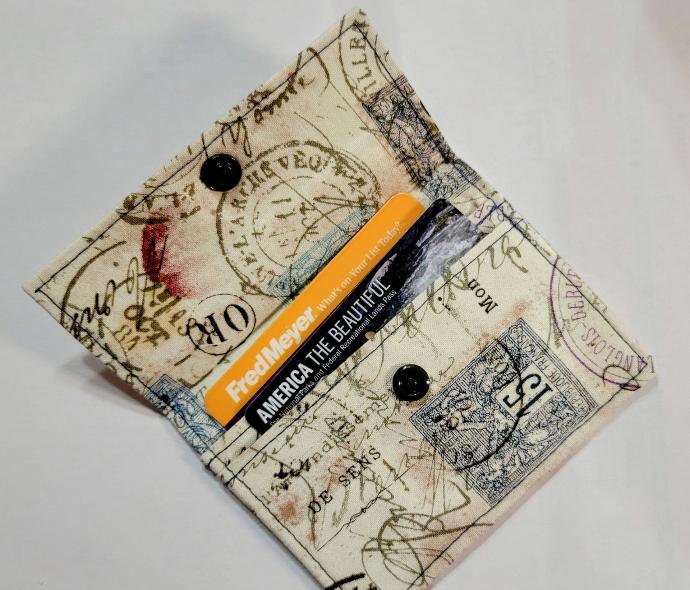
Erin’s Sew Simple Wallet:
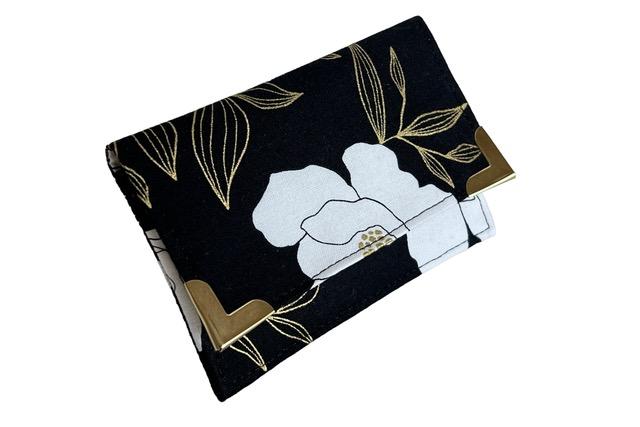
Erin added metal corners to the front of her wallet. They added a real touch of class!
Grete’s Sew Simple Wallets:
Grete asked if magnets would be a possibility as an alternative way to close the wallet. This would work nicely for storing cards that have a chip, rather than a magnetic strip. If you have access to a snap setter, another option is to use a snap closure as Cindy did.
___________________________________________________________________________________________
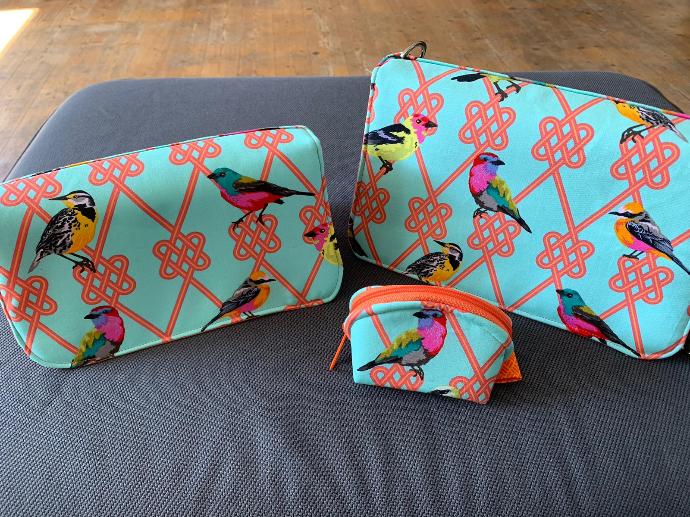
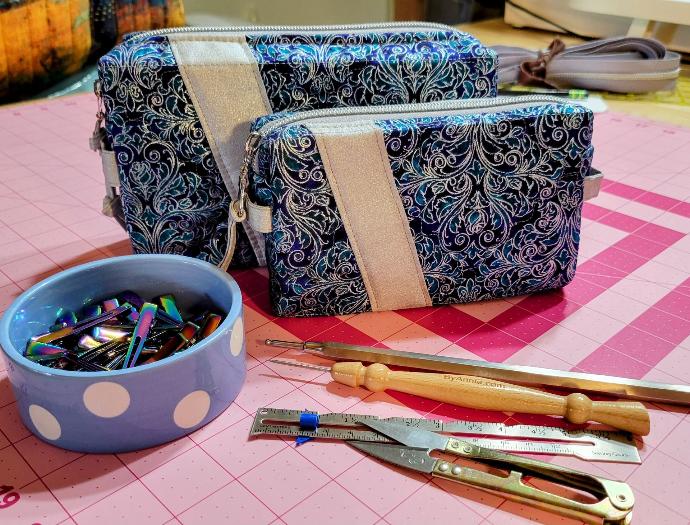
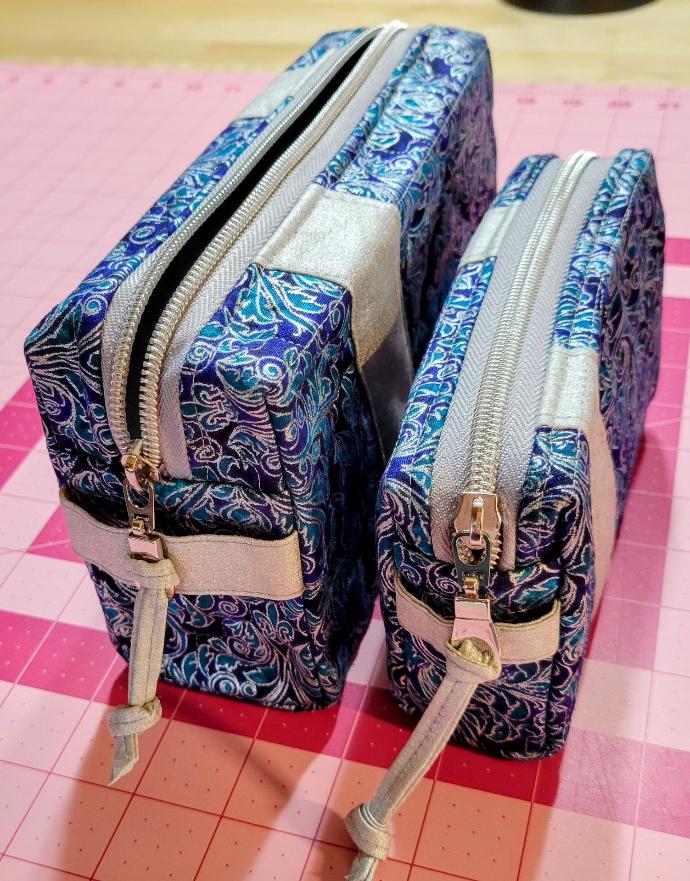
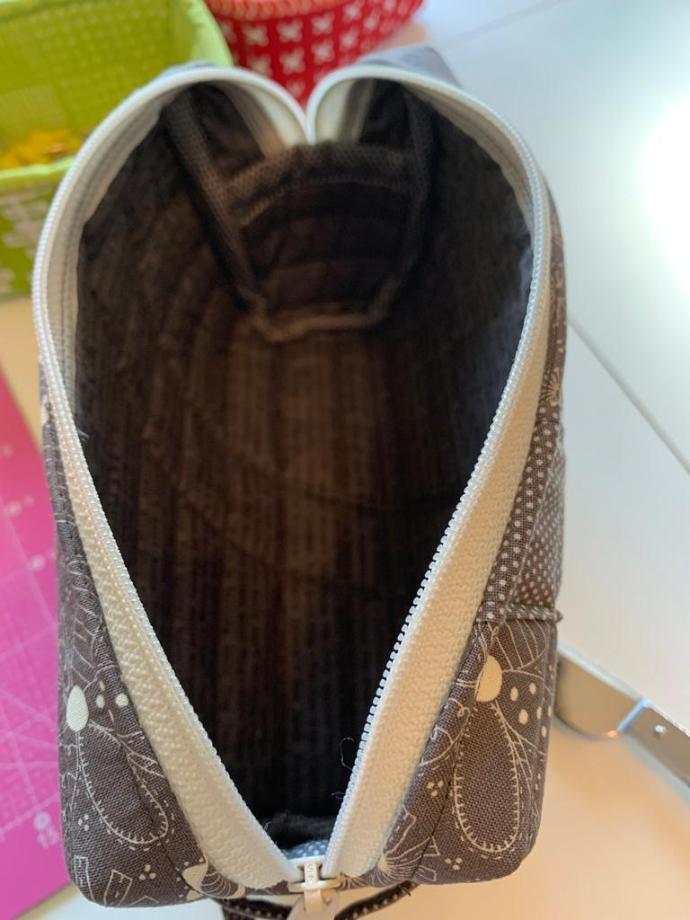
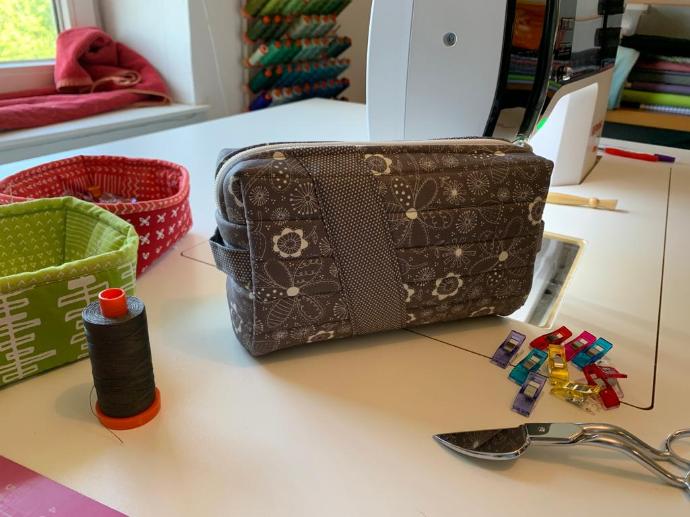
Ditty Bags 2.0
This updated pattern includes a more angled construction that helps the bags stand up better, as well as looped handles on each end. For added interest, we added an angled border strip that wraps around the bag.
2.0 patterns include clearer instructions, our latest and best techniques, more illustrations, and, best of all, Add-On Videos!
Tips from testers:
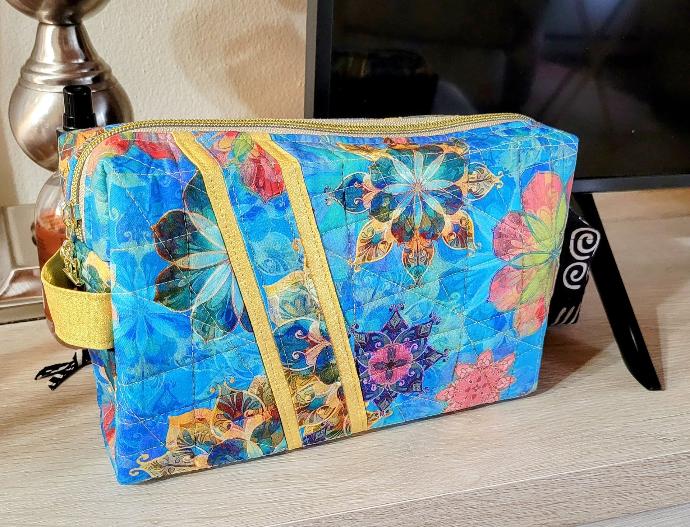
- The border is a great place to add embellishment, such as ribbons or embroidery.
- ByAnnie’s Double Sided Basting Tape is great for holding the border in place as you sew.
Cindy’s Ditty Bags 2.0:

Kathy's Ditty Bags 2.0

Kristen's Ditty Bags 2.0

Tula Pink - Curiouser and Curiouser, Slow and Steady - FreeSpirit Fabrics
Ribbons by Tula Pink for Renaissance Ribbons
Kristen Haegele - Stitch Fabric Company - Instagram: StitchFabricCompany
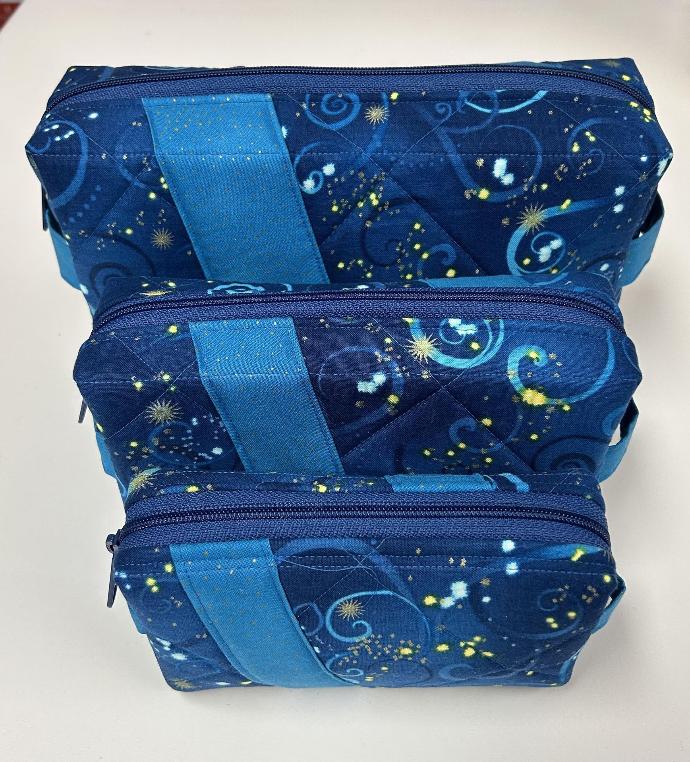
Jan’s Ditty Bags 2.0:
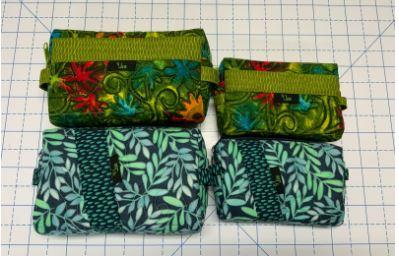
Jan's go-to gift has always been Ditty Bags and she was pleased to learn that all the pieces she had cut out for bags using the original pattern would work using the instructions in the new pattern. See her comparison of the bags made using pieces cut according to the original Ditty Bags pattern (top) and bags made using the new 2.0 pattern (bottom).
Grete’s Ditty Bags 2.0:
“The illustrations are much improved, and that will be very helpful, especially for newbies.” -Grete
___________________________________________________________________________________________
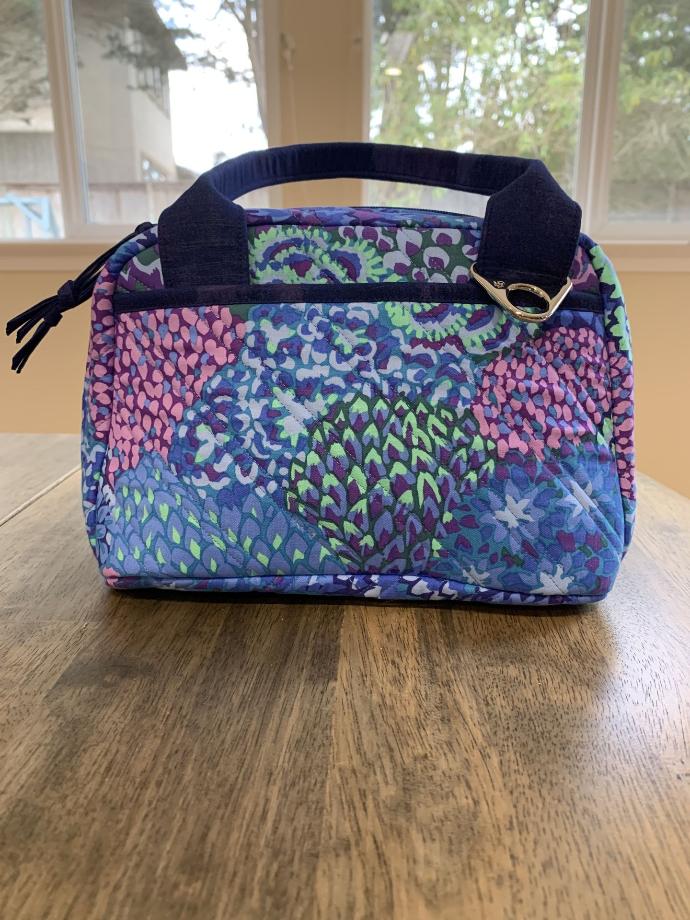
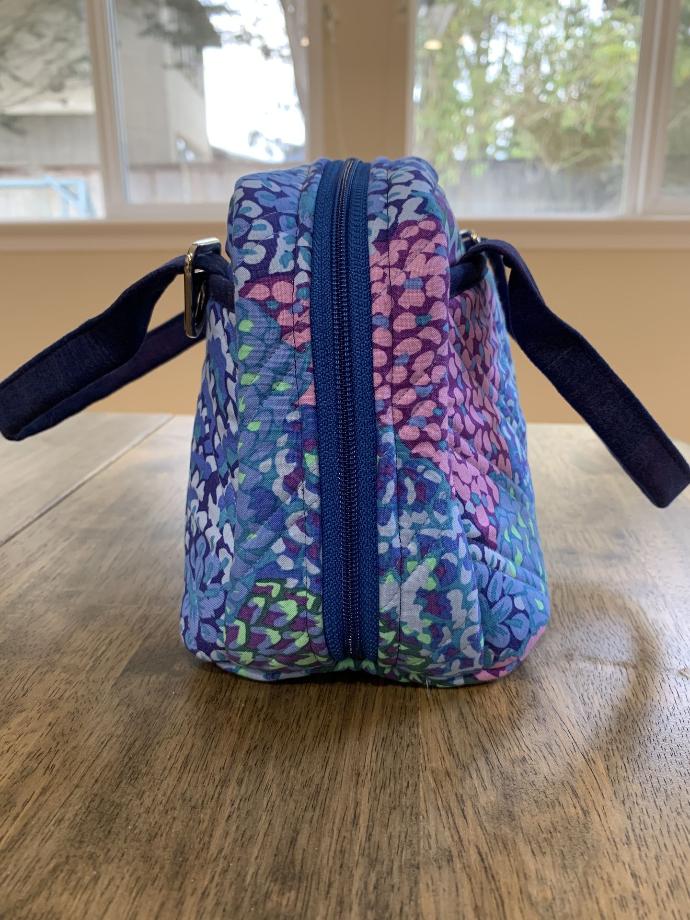
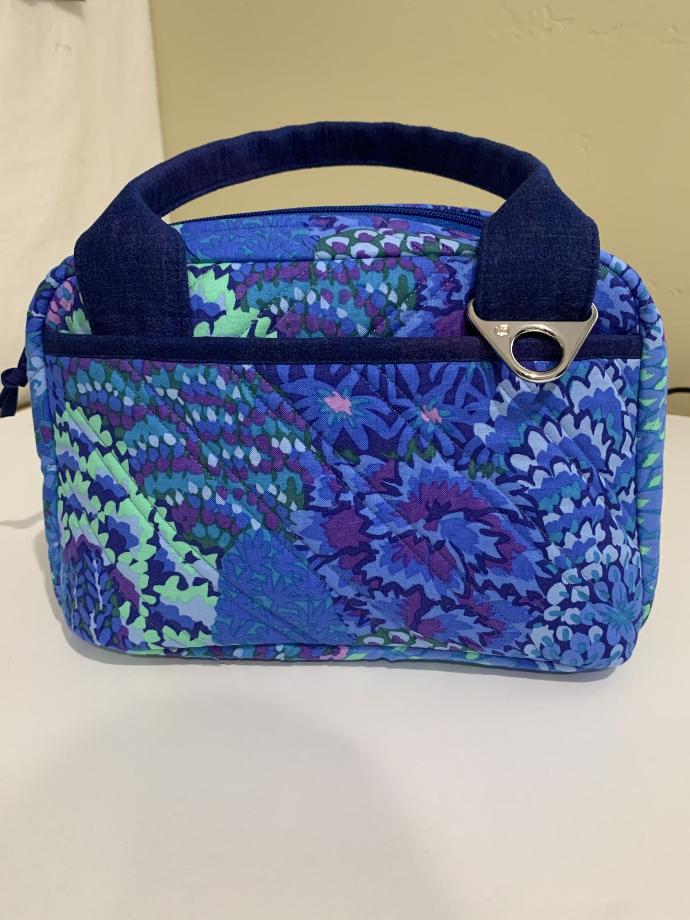
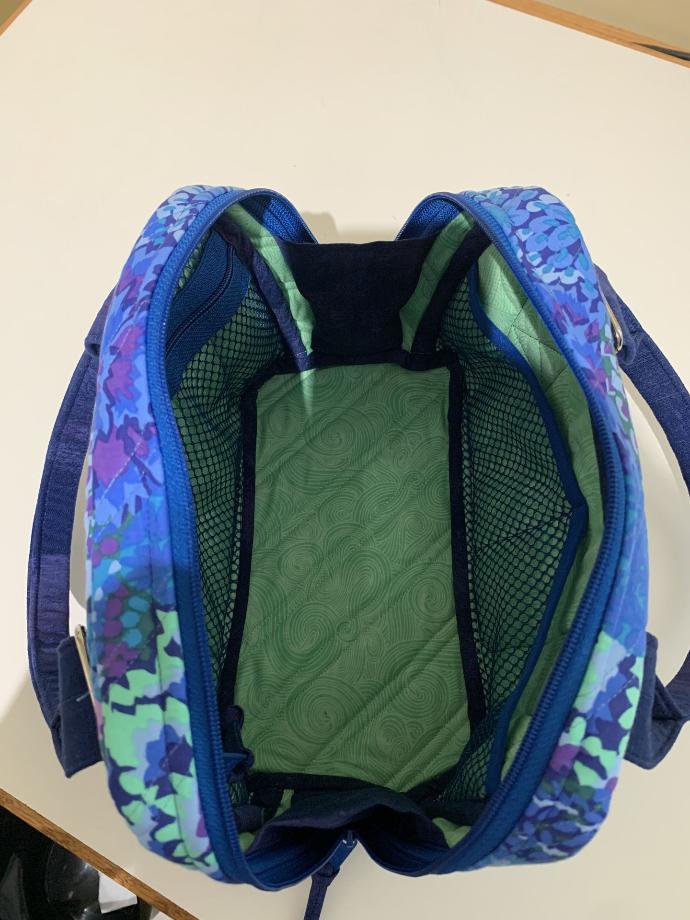
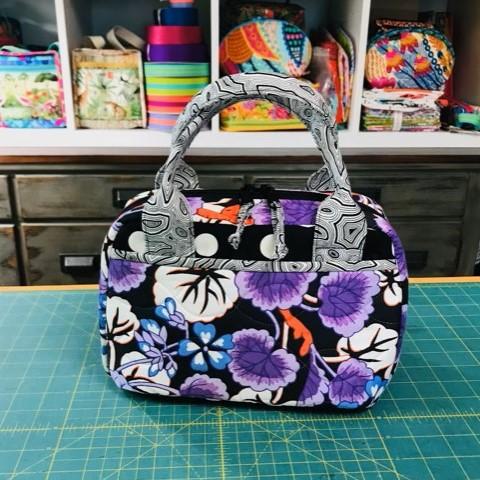
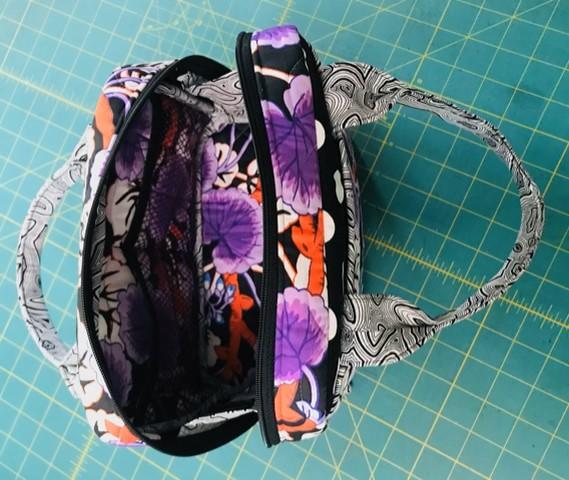
Out to Lunch 2.0
For the updated version of our popular Out to Lunch pattern, we not only made the instructions and illustrations more clear, but we also added an additional size as well as Add-On Videos to help you succeed with your project.
Out to Lunch 2.0 not only makes a spacious lunch bag, but can also be carried as a purse, using the built-in handles or by attaching a carrying strap to the triangle rings on the handles. Check out our free pattern Carrying Strap and Pad for instructions to make a strap.
Tips from testers:
- The ByAnnie's Stiletto and Pressing Tool really helps when sewing binding down around curves.
- Using a narrow zipper foot can help you sew closer to hardware without the foot getting in your way.
- Be sure to watch the Add-On Video if you need help attaching the gussets.
Linda’s Out to Lunch 2.0:
Kim’s Out to Lunch 2.0:
We hope you have enjoyed seeing some examples of the new projects. We can’t wait to see what you make! Please remember to enter our monthly photo contest. We award multiple prizes each month and you can win up to $50 to spend at ByAnnie.com.
P. S. Did you guess which of the new patterns went through more than 46 versions? It was Courtside!
TESTING THE NEW BYANNIE PATTERNS!