Nothing is more satisfying than creating a sewing space that is functional and practical. In an effort to help you breeze through all your projects as smoothly and effortlessly as possible, we've created our "Sew Successful" series of blogs. In them, we've talked about Machine Maintenance & Setup, some of the things we've learned about Thread and Needles over the years, and provided you a list of Annie's Top 10 Favorite Tools. Keep reading to discover some of the other must-have items to keep in your sewing space, and read about our recommendations and tips for sewing smarter, not harder!
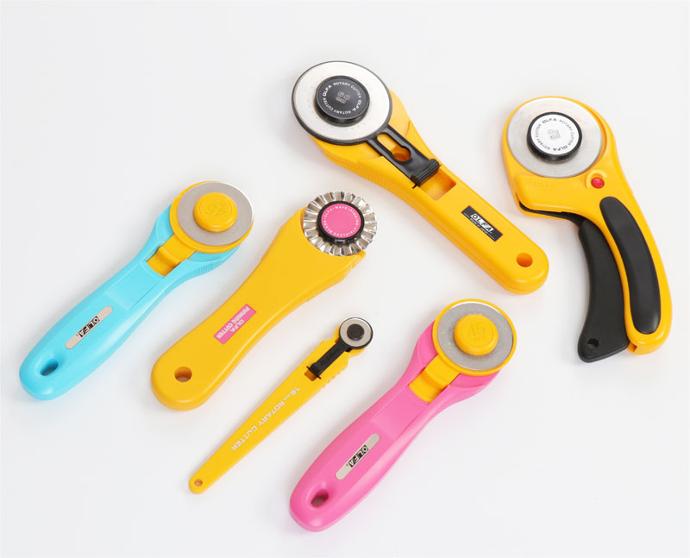
Rotary Cutter
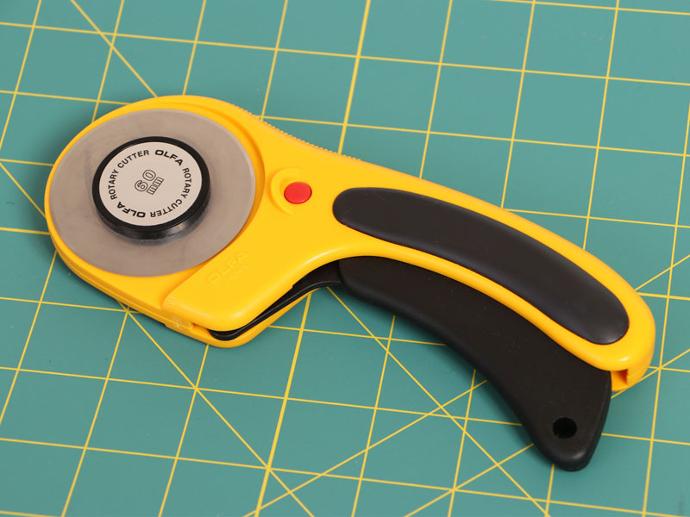
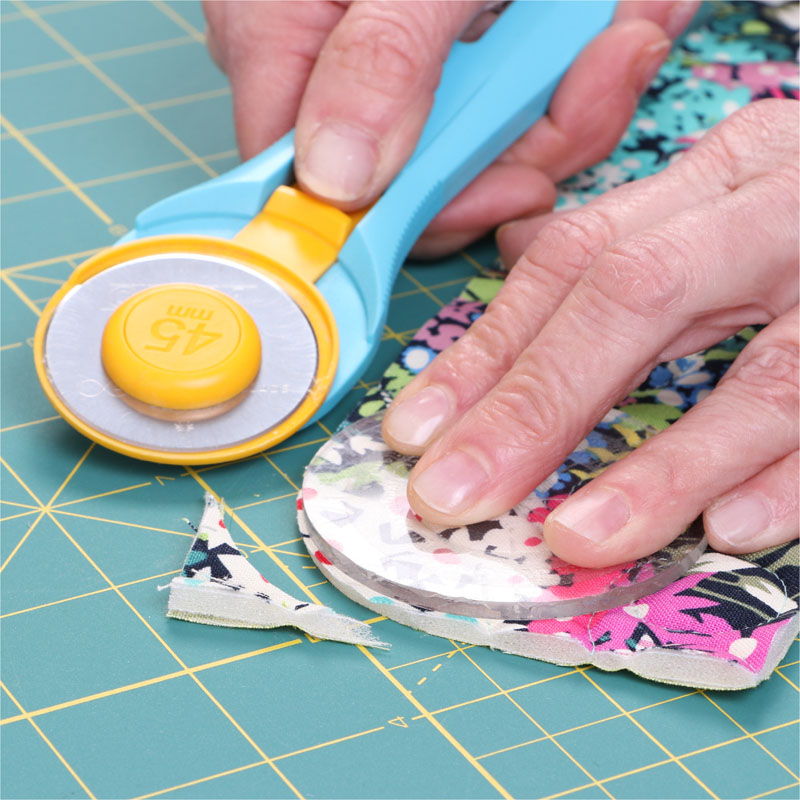
A good rotary cutter is one of our favorite tools in the sewing studio. We prefer using rotary cutters over scissors, because they tend to be extremely sharp, are very good at cutting through fabrics quilted with Soft and Stable, and give better accuracy when cutting out the different shapes for our patterns.
Rotary cutters come in various sizes, so we keep several on hand (18mm – 60mm). While everyone has a preference of which size they like to use, keep in mind that the larger sizes work really well for cutting thicker fabrics, multiple layers, or larger project pieces.
Smaller cutters are great for thinner fabrics, smaller projects, or tight corners and sharper curves. You don't have to settle for just one rotary cutter, it's okay to have a few for different projects.
Helpful Hints
Rotary cutters can be exceptionally sharp, so be sure to observe the following tips:
- Always be mindful of where your hands and fingers are, and always cut away from your body.
- When not in use, remember to close the guard or protective cover, even if you’re only setting the cutter down for a moment.
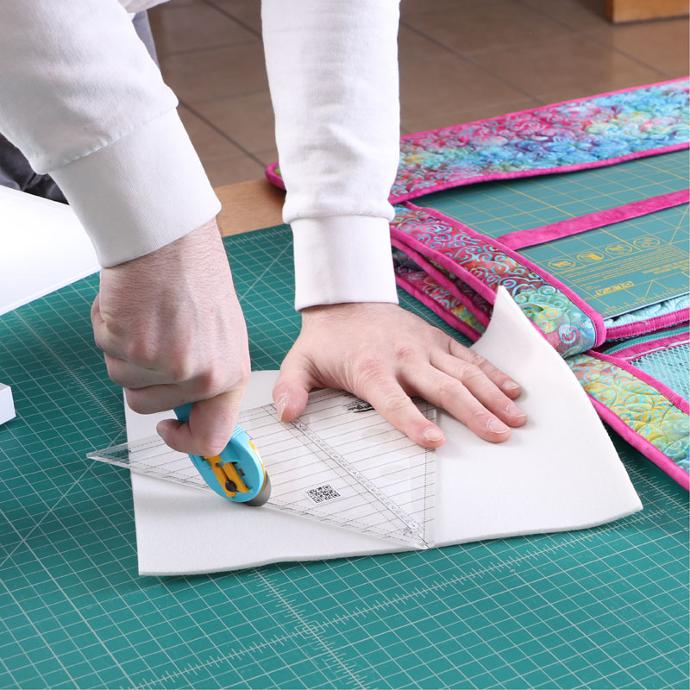
- Keep out of the reach of small children and teenagers. This can be a dangerous tool in the wrong hands!
- Be careful not to leave pins laying around on your mat or stuck in your fabric when cutting with the rotary cutter. If your cutter runs over a pin, it will damage the blade, leaving a pit or divot in that spot. This means it won’t cut properly and may damage or snag your fabric.
- Remember to (carefully) change your blade often. A dull blade means you will need to push harder when cutting fabrics, which may lead to loss of control when cutting, leading to possible injuries or mistakes.
Scissors
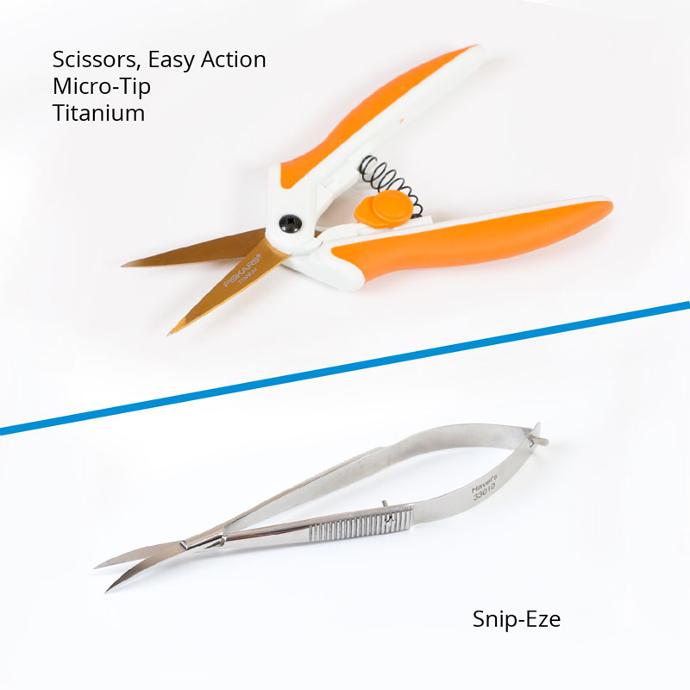
While we prefer using rotary cutters for our bag making projects, scissors are necessary from time to time… and you may need more than one pair depending on the project you’re working on!
For bag making, we love using Snip-Eze Comfort Snips for clipping off loose threads as we’re sewing. Their slightly curved tips mean we can get really close to our project, without fear of cutting into the fabric.
Another great option is a good, spring-loaded scissor (Annie’s favorite). These are particularly helpful for those who don’t have a strong grip or have a problem with arthritis!
Another Point
If you’re not sure which type of scissors are right for your sewing or crafting projects, don’t be afraid to talk to the people at your local quilt shop. Ask friends or fellow guild members what they recommend, or seek advice from experienced makers on social media forums or from trusted or well-known bloggers.
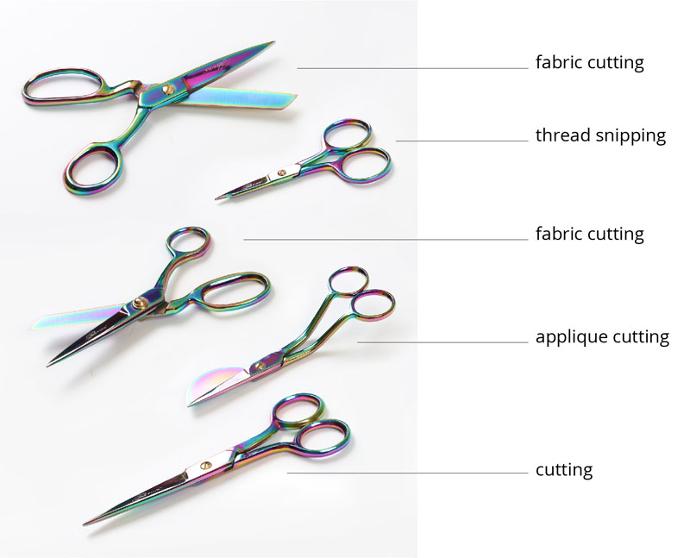
Once you find what works for you, we suggest making or purchasing a case to store your scissors and supplies, such as ByAnnie's Running With Scissors. Protecting the sharp points of your scissors will not only be safer for you, but will help your tools last longer for effectiveness over time.
(Scissors show above are Tula Pink Hardware.)
Cutting Mat
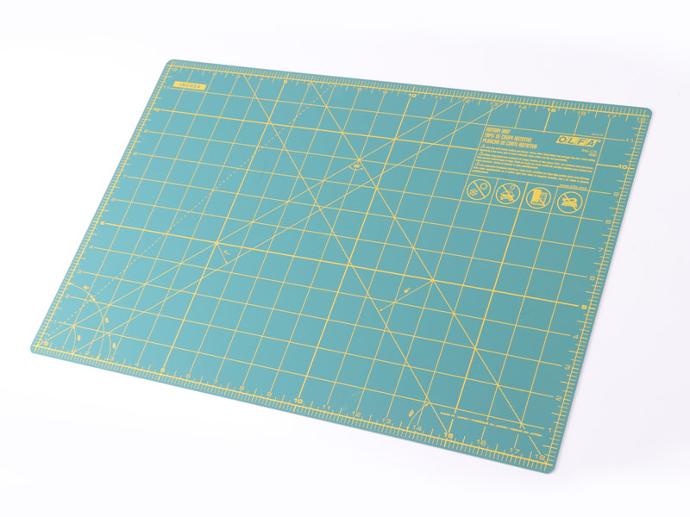
Not all cutting mats are created equal, and not all cutting mats will be right for you.
When choosing a mat, ask yourself a few questions first: How often will you be using it? What types of projects will you be cutting on it? Will you mostly use it at home, or will you want to take it with you on vacation, to retreats, to classes or guild meetings? Your answers will help point you in the right direction.
Don't Get Groovy
Our favorite type of cutting mat is the self-healing type. While they may be slightly more expensive than plastic mats, the investment will be worth it over time.
With plastic mats, your rotary cutter leaves a small groove every time you cut. This may not seem like a big deal, but with repeated use it may start creating uneven or crooked cutting patterns, or worse yet, it could snag your fabric!
Rulers
Often times people will attempt to cut their fabric using only the marks on their cutting mats. This can lead to uneven cuts, crooked lines, or mistakes, which is the opposite of what you want when trying to create the “puzzle pieces” of a bag.
We highly recommend investing in some good rulers. You’ll have much better control, have better visibility to the fabric underneath, and will love the accuracy and consistency you’ll have when creating your projects.
In addition to straight rulers, we also suggest purchasing a variety of circular rulers. These will be really handy when trying to accurately cut rounded corners for bags and organizers.
Measure Up!
Keep in mind that some rulers come with an additional half inch along the edge. If you’re not paying attention while using these types of rulers, you could incorrectly cut your fabric, making it more difficult to piece things together later.
Also, try finding a ruler with a bit of “grip” on the backside. This will keep your rulers from sliding across your fabric while you’re cutting; Annie particularly loves Olfa rulers for that reason. When cutting, make sure to place a firm hand down on your ruler to help keep it in place.
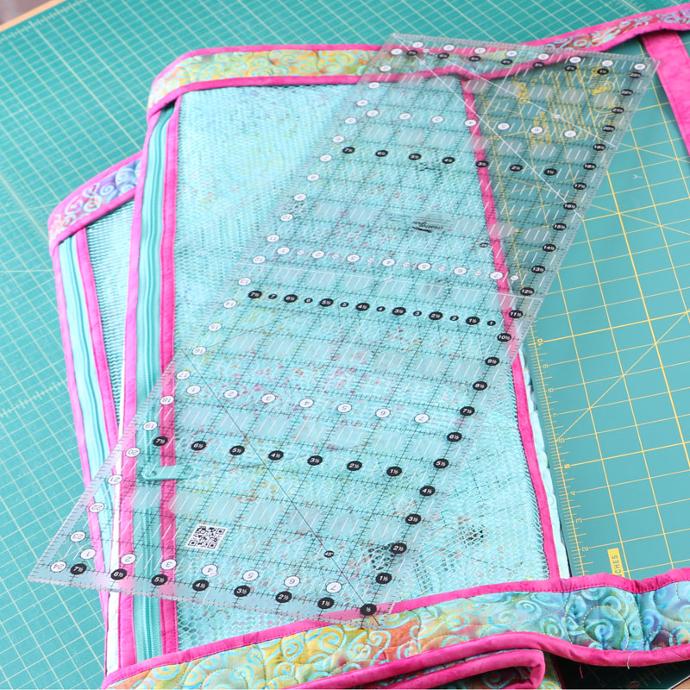
Once you've compiled a great set of rulers, we suggest making (or purchasing) a sturdy carrier or storage case, such as ByAnnie's Ruler Wrap. With care and protection, your precious rulers can last a lifetime, making them an excellent and beneficial investment!
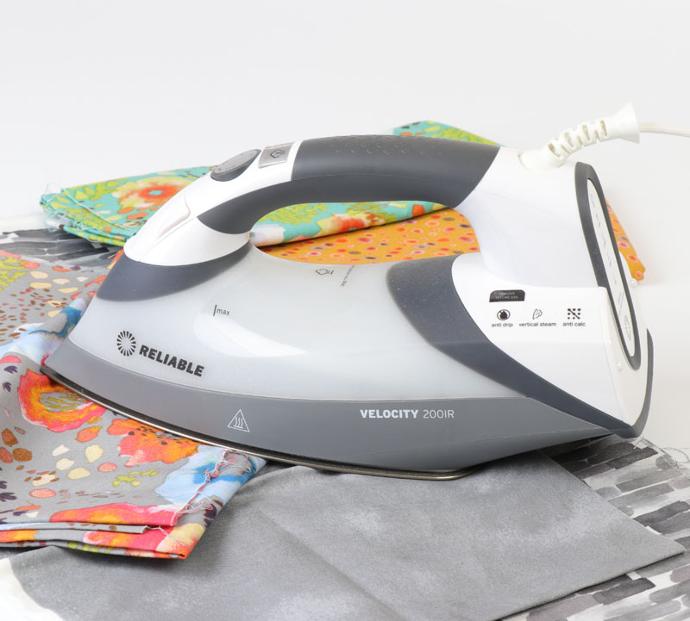
Irons and Steamers
A well-functioning iron is great for making projects look tidy and crisp. So, it's frustrating when yours isn't working properly. Here are a few things we've learned along the way:
- Be careful when using an iron with Fusible Thread/Web. This can "gum up" your iron, so always remember to use a pressing cloth in between the iron and the web.
- Spray starches can also cause build up over time. Keep in mind that the stability offered through ByAnnie's Soft & Stable means you won't need to use starches when making bags!
- If the soleplate of your iron does get gummy or soiled, try running it over a dryer sheet on low heat until the residue disappears.
- ByAnnie's Soft and Stable is completely safe to machine wash and iron. If yours happens to get wrinkled or smooshed before starting a project, feel free to steam it a bit or iron on medium heat. It will bounce back beautifully.
Additional Hints:
- If you're having trouble with your steamer, don't give up on it just yet. Try reading the owner's manual first. Some irons and steamers require you to use distilled water, while others may call for mineral or tap water. Depending on what type you own, you may be able to fix your problem with something as simple as switching water types!
- If your iron or steamer is having issues with spitting or leaking, turn to your owner's manual again. Some machines require a different or higher heat setting in order for the steamer function to work properly. If a temperature change doesn't help, consult with someone at your local quilt shop. They may have some other solutions to help you out!
- If you feel as though your iron/steamer is plugged up, you could always trying cleaning it out with a solution of 2 parts water to 1 part vinegar. It smells awful, but often times does the trick to help it work properly again.
Tell us your tips!
In the comments below, tell us about some of your favorite tools, supplies or tips for setting up a successful sewing studio. Happy Stitching!
Tools of the Trade