Wholesale Resources
Add-on Video
Tutorials
ByAnnie Basics
-
Basics
-
Preview
-
Schedule a one-on-one meeting with us
-
-
Product, inventory and ordering support
-
All product details + New products
-
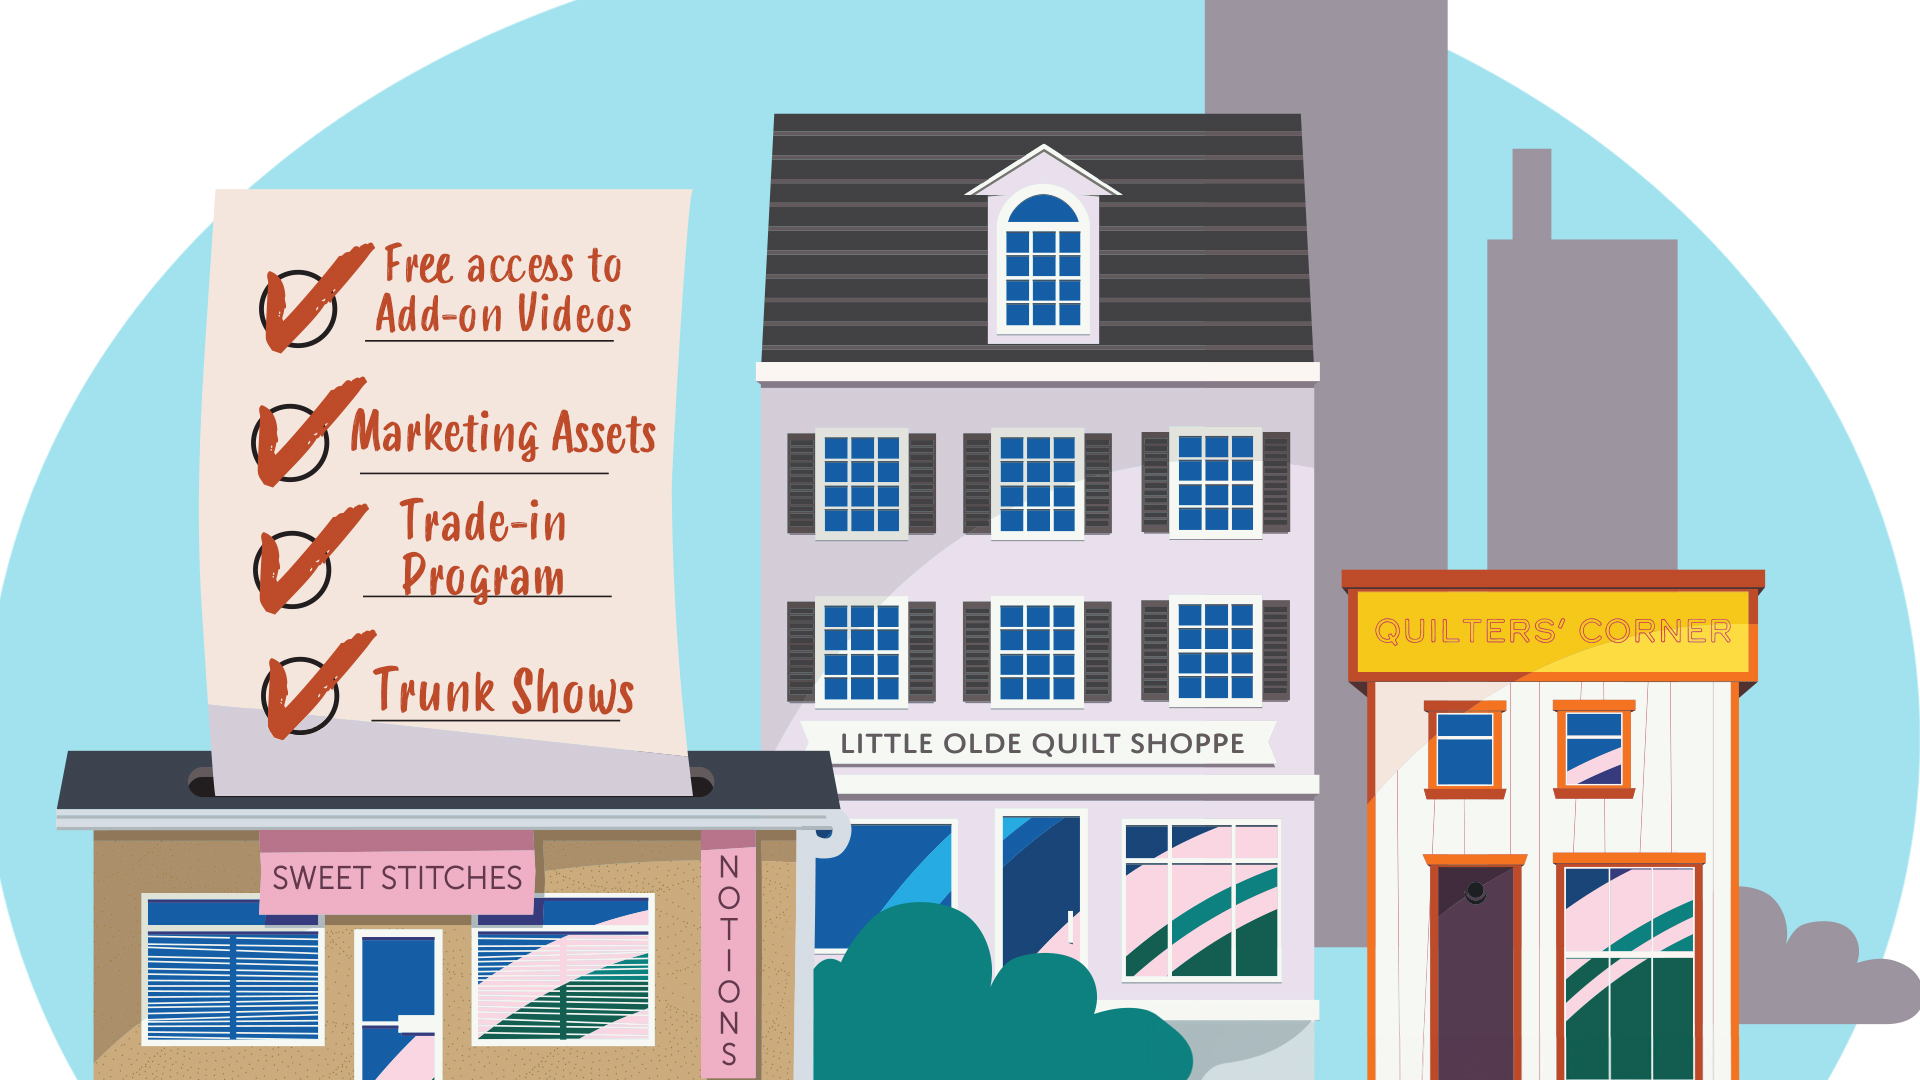
Free Access to Add-on Videos
-
Preview
-
Preview
-
-
Trunk Shows, Project of the Month Ideas, and more!
-
Preview
-
Preview
-
Preview
-
Preview
-
-
Oldies, but goodies
-
Preview
-
Preview
-
Schoolhouse: Spring 2022
-
Schoolhouse: Spring 2021 Virtual Schoolhouse
-
Schoolhouse: Spring 2020
-